null
Get inspiration!
Inspiration at your fingertips with templates to spark your imagination
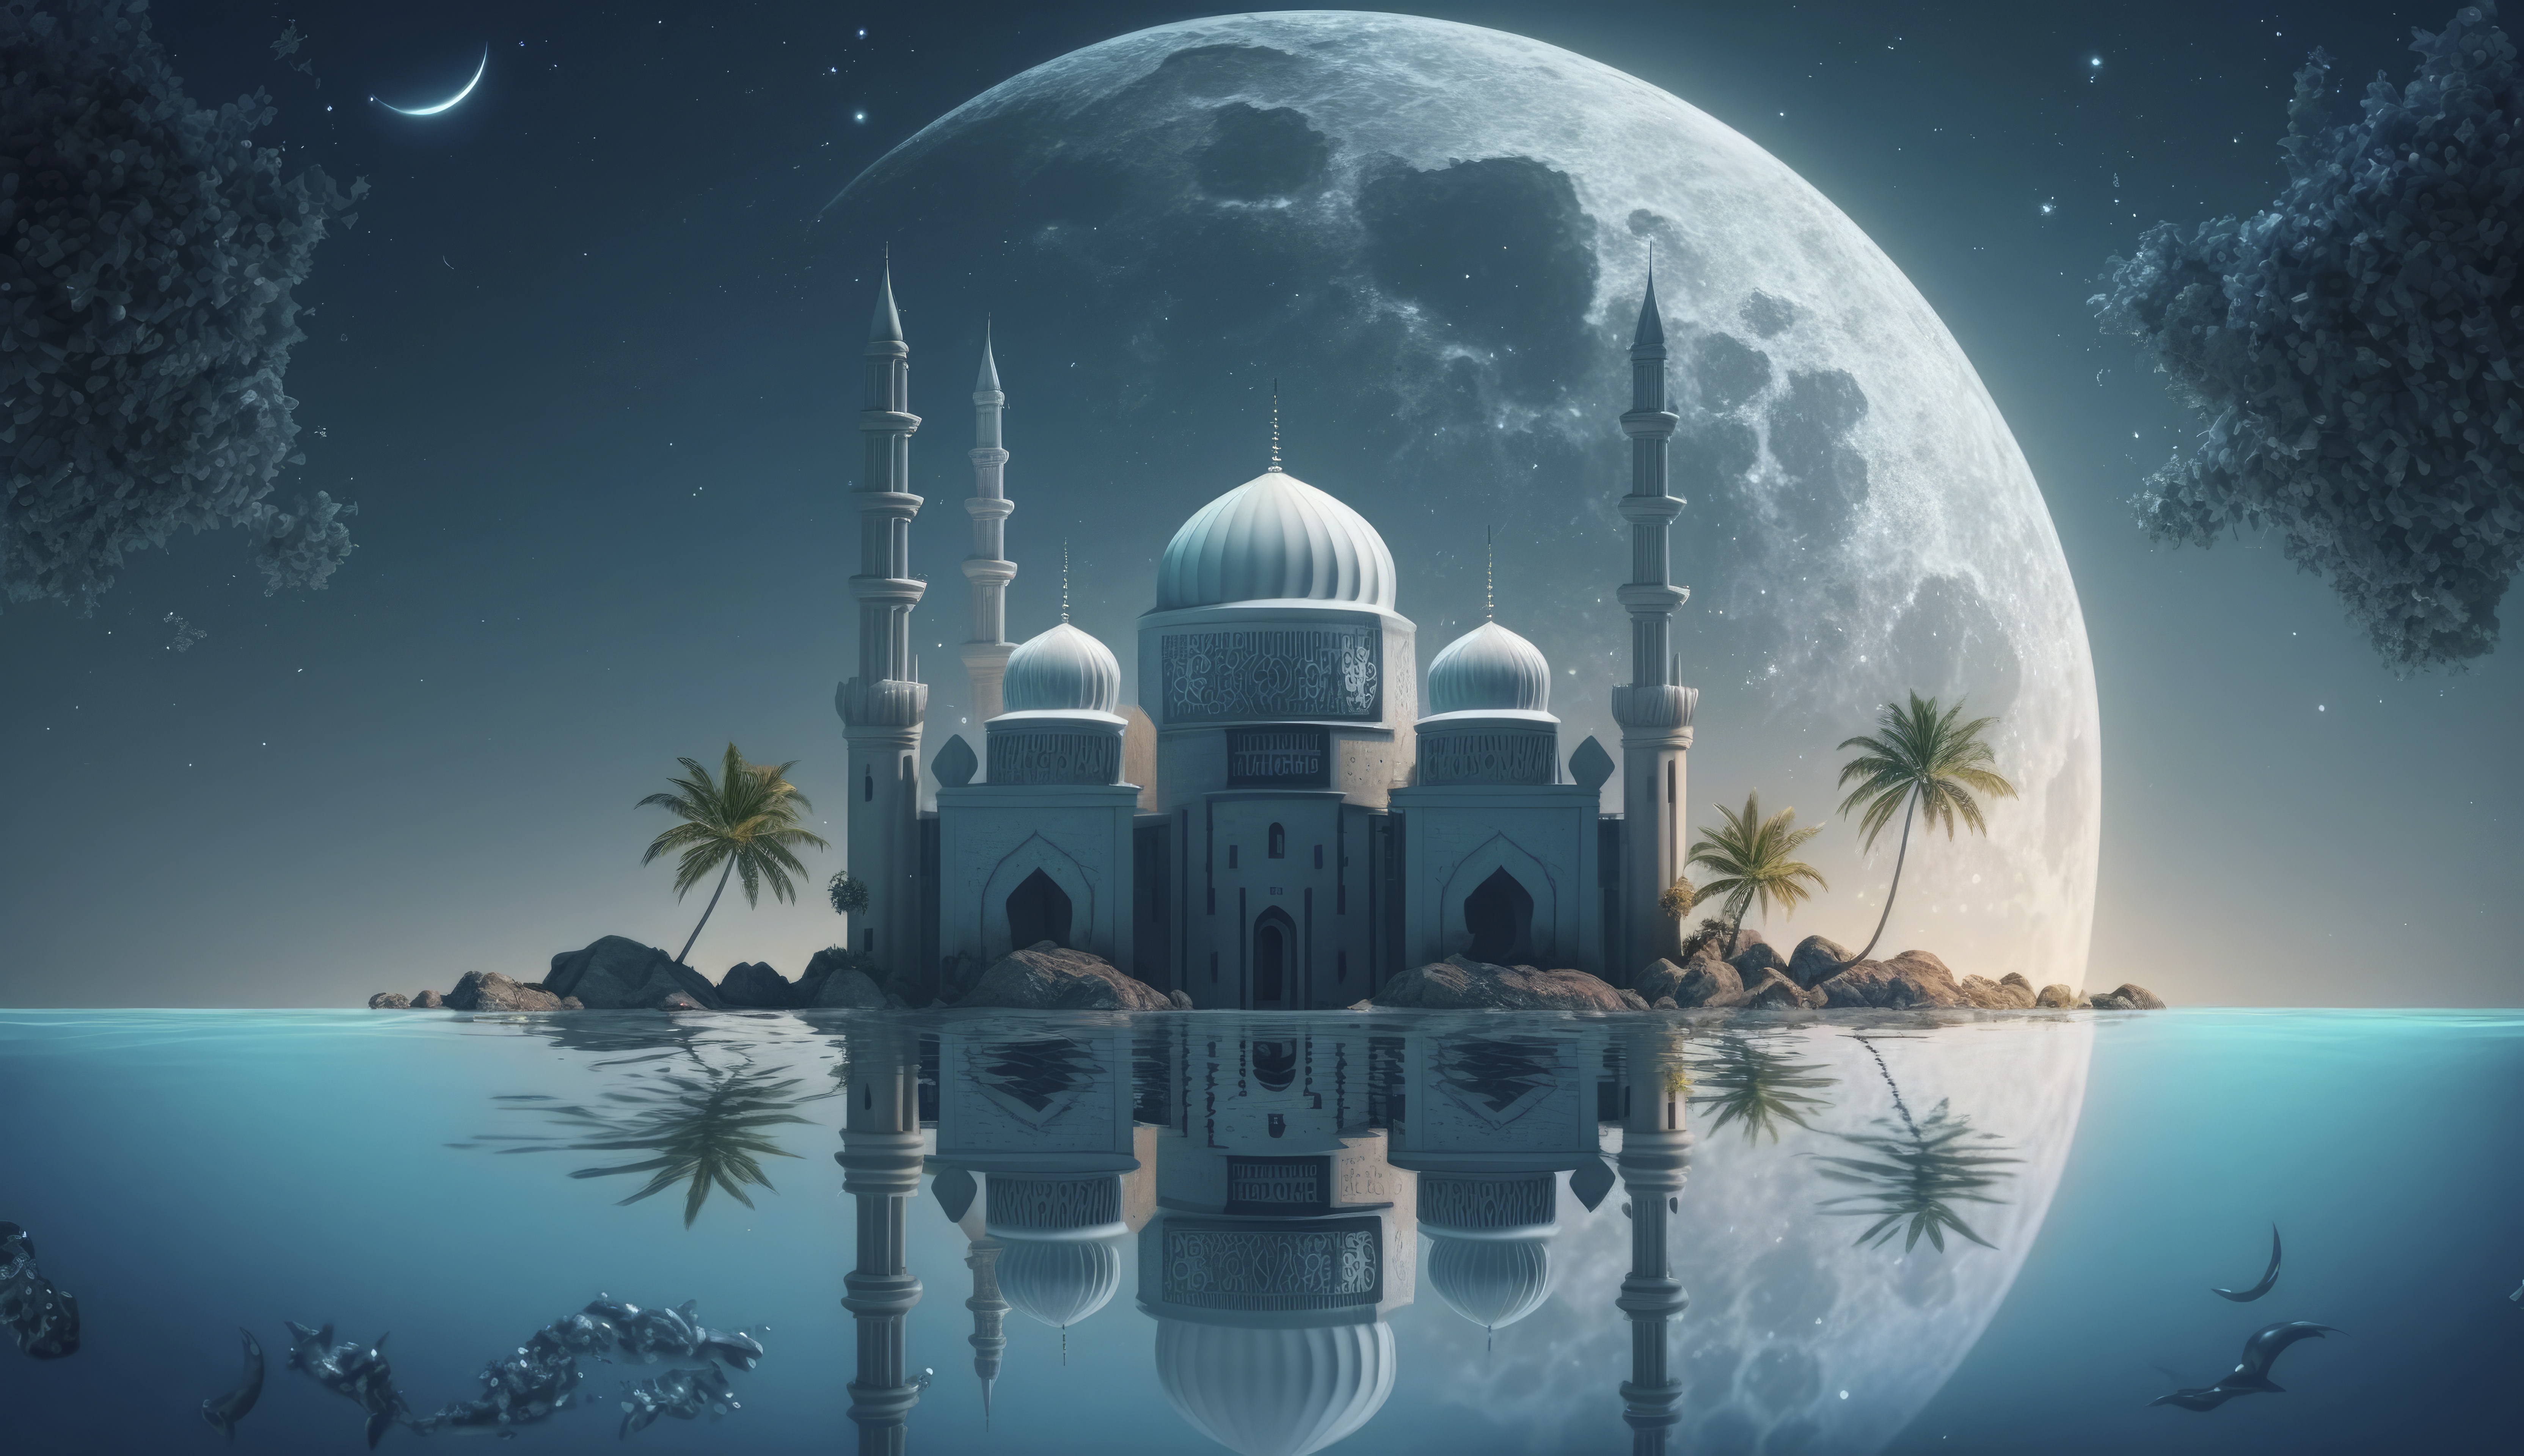
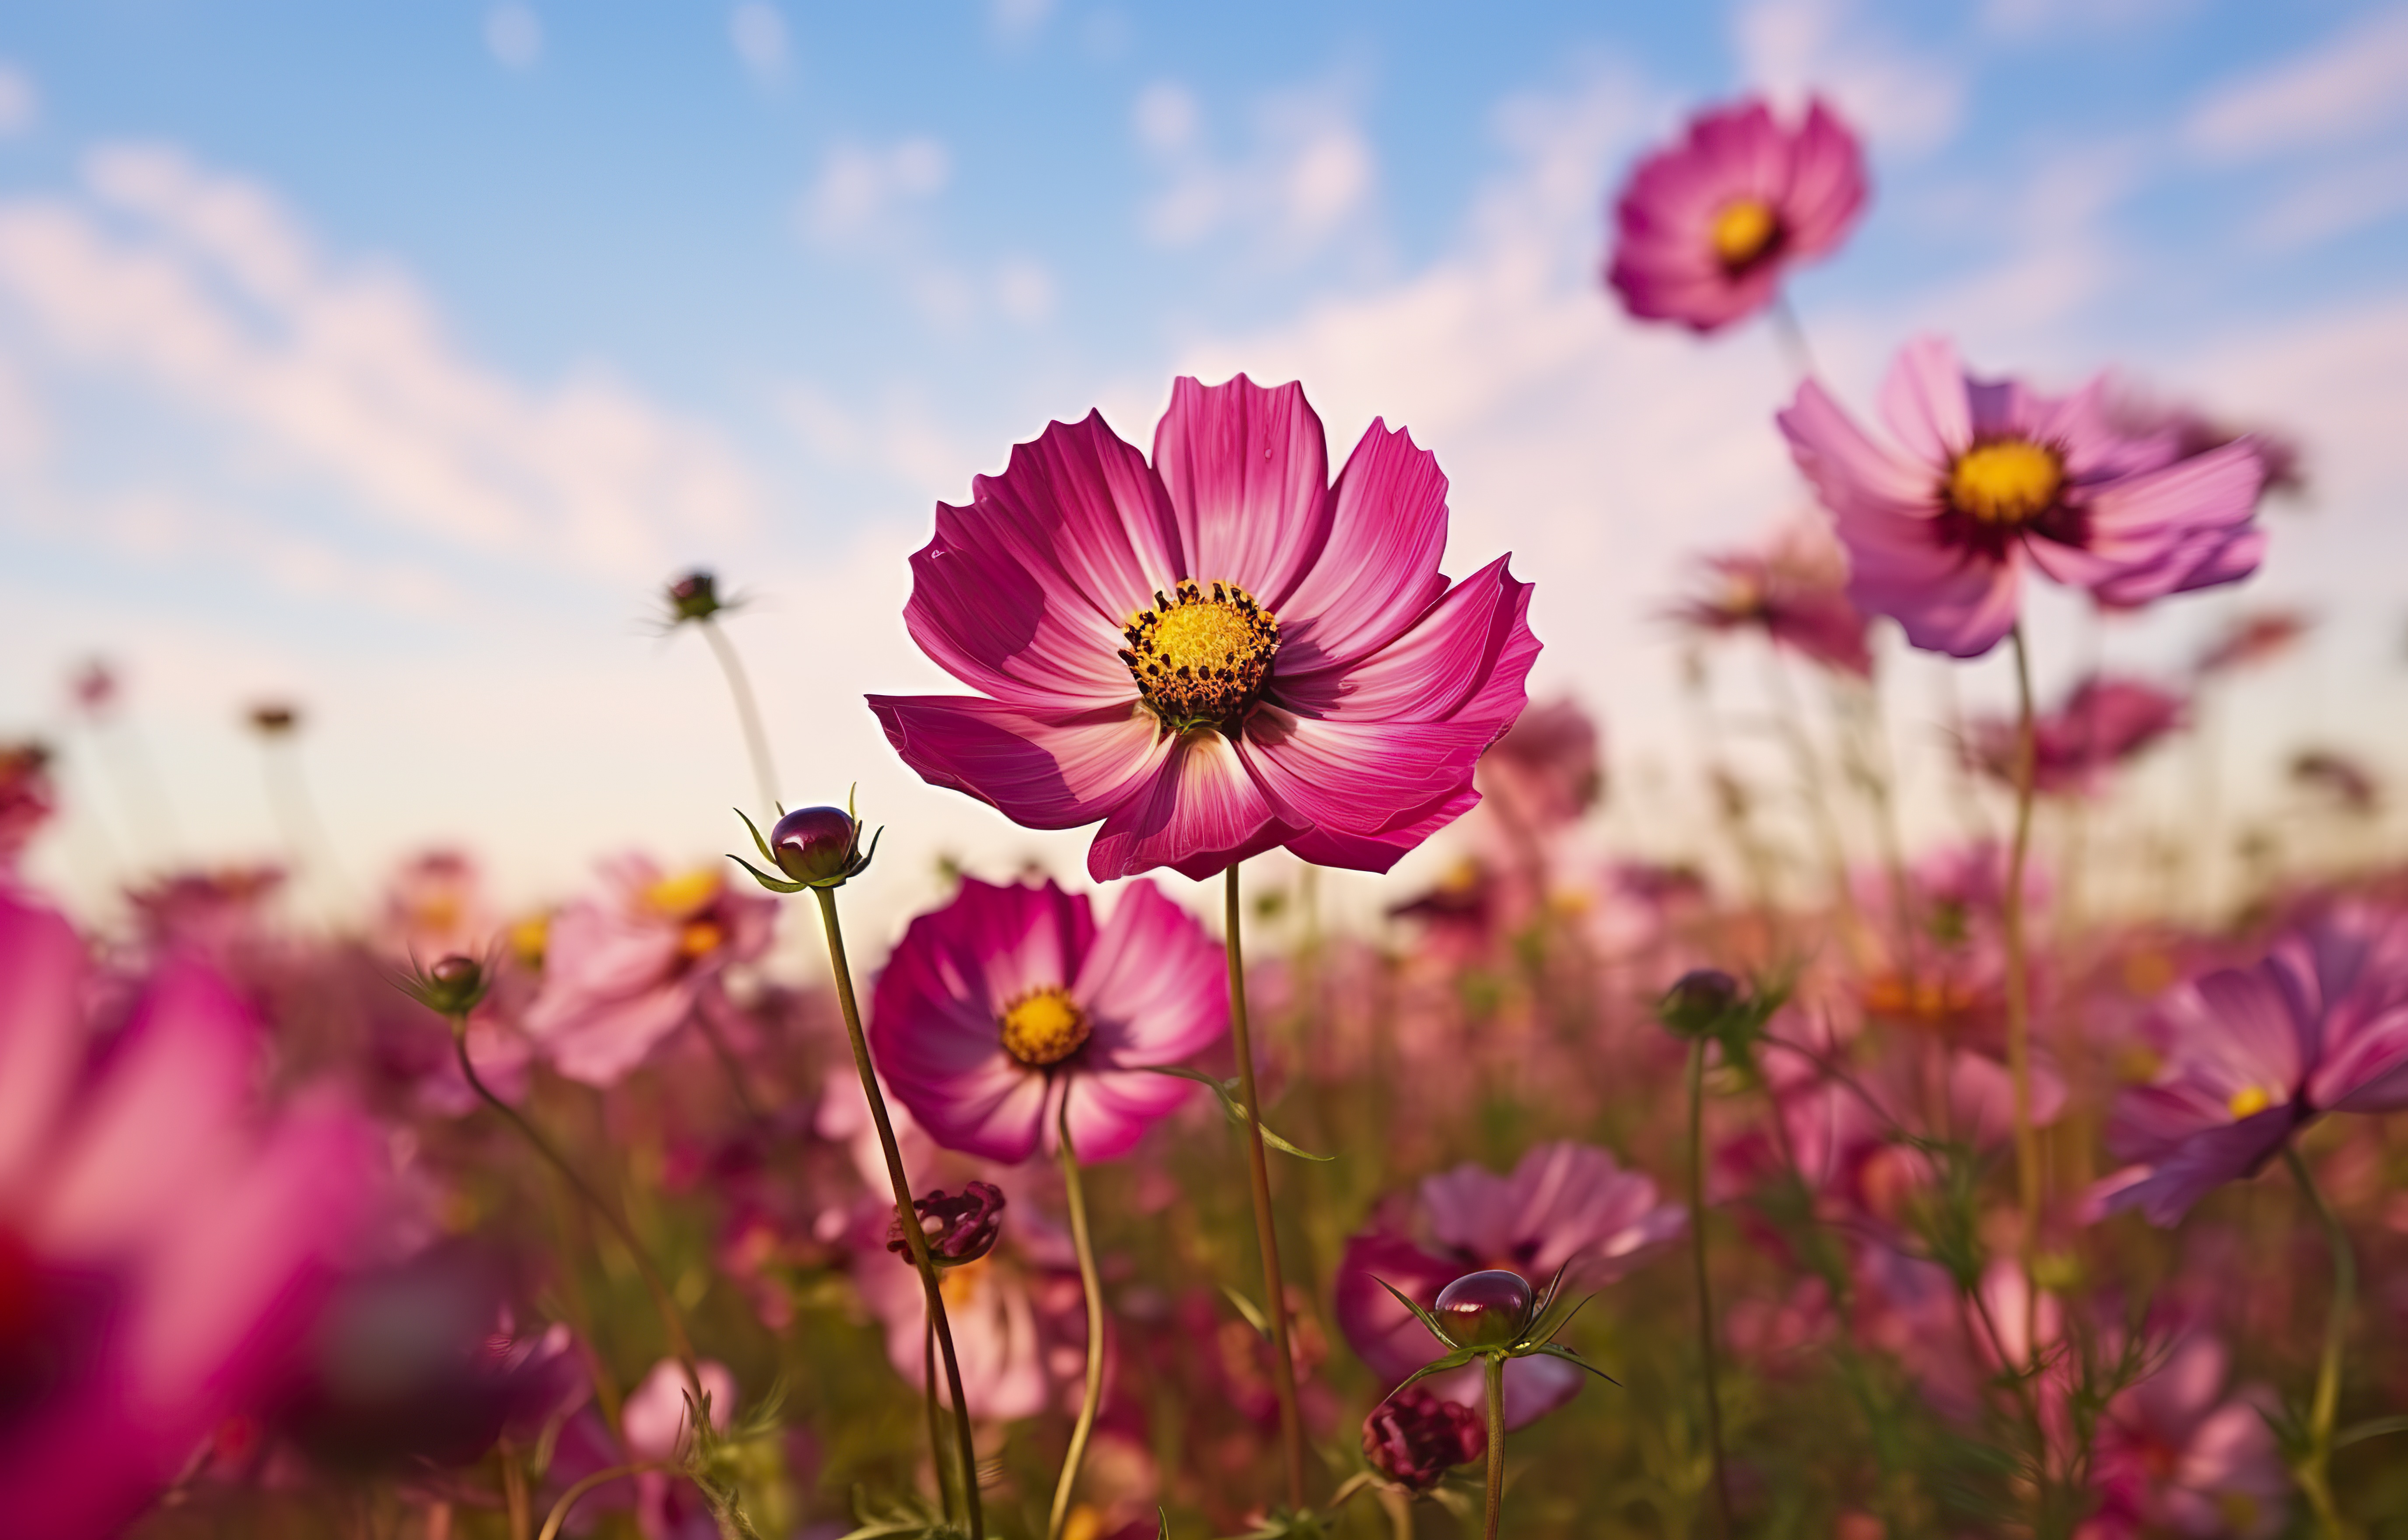
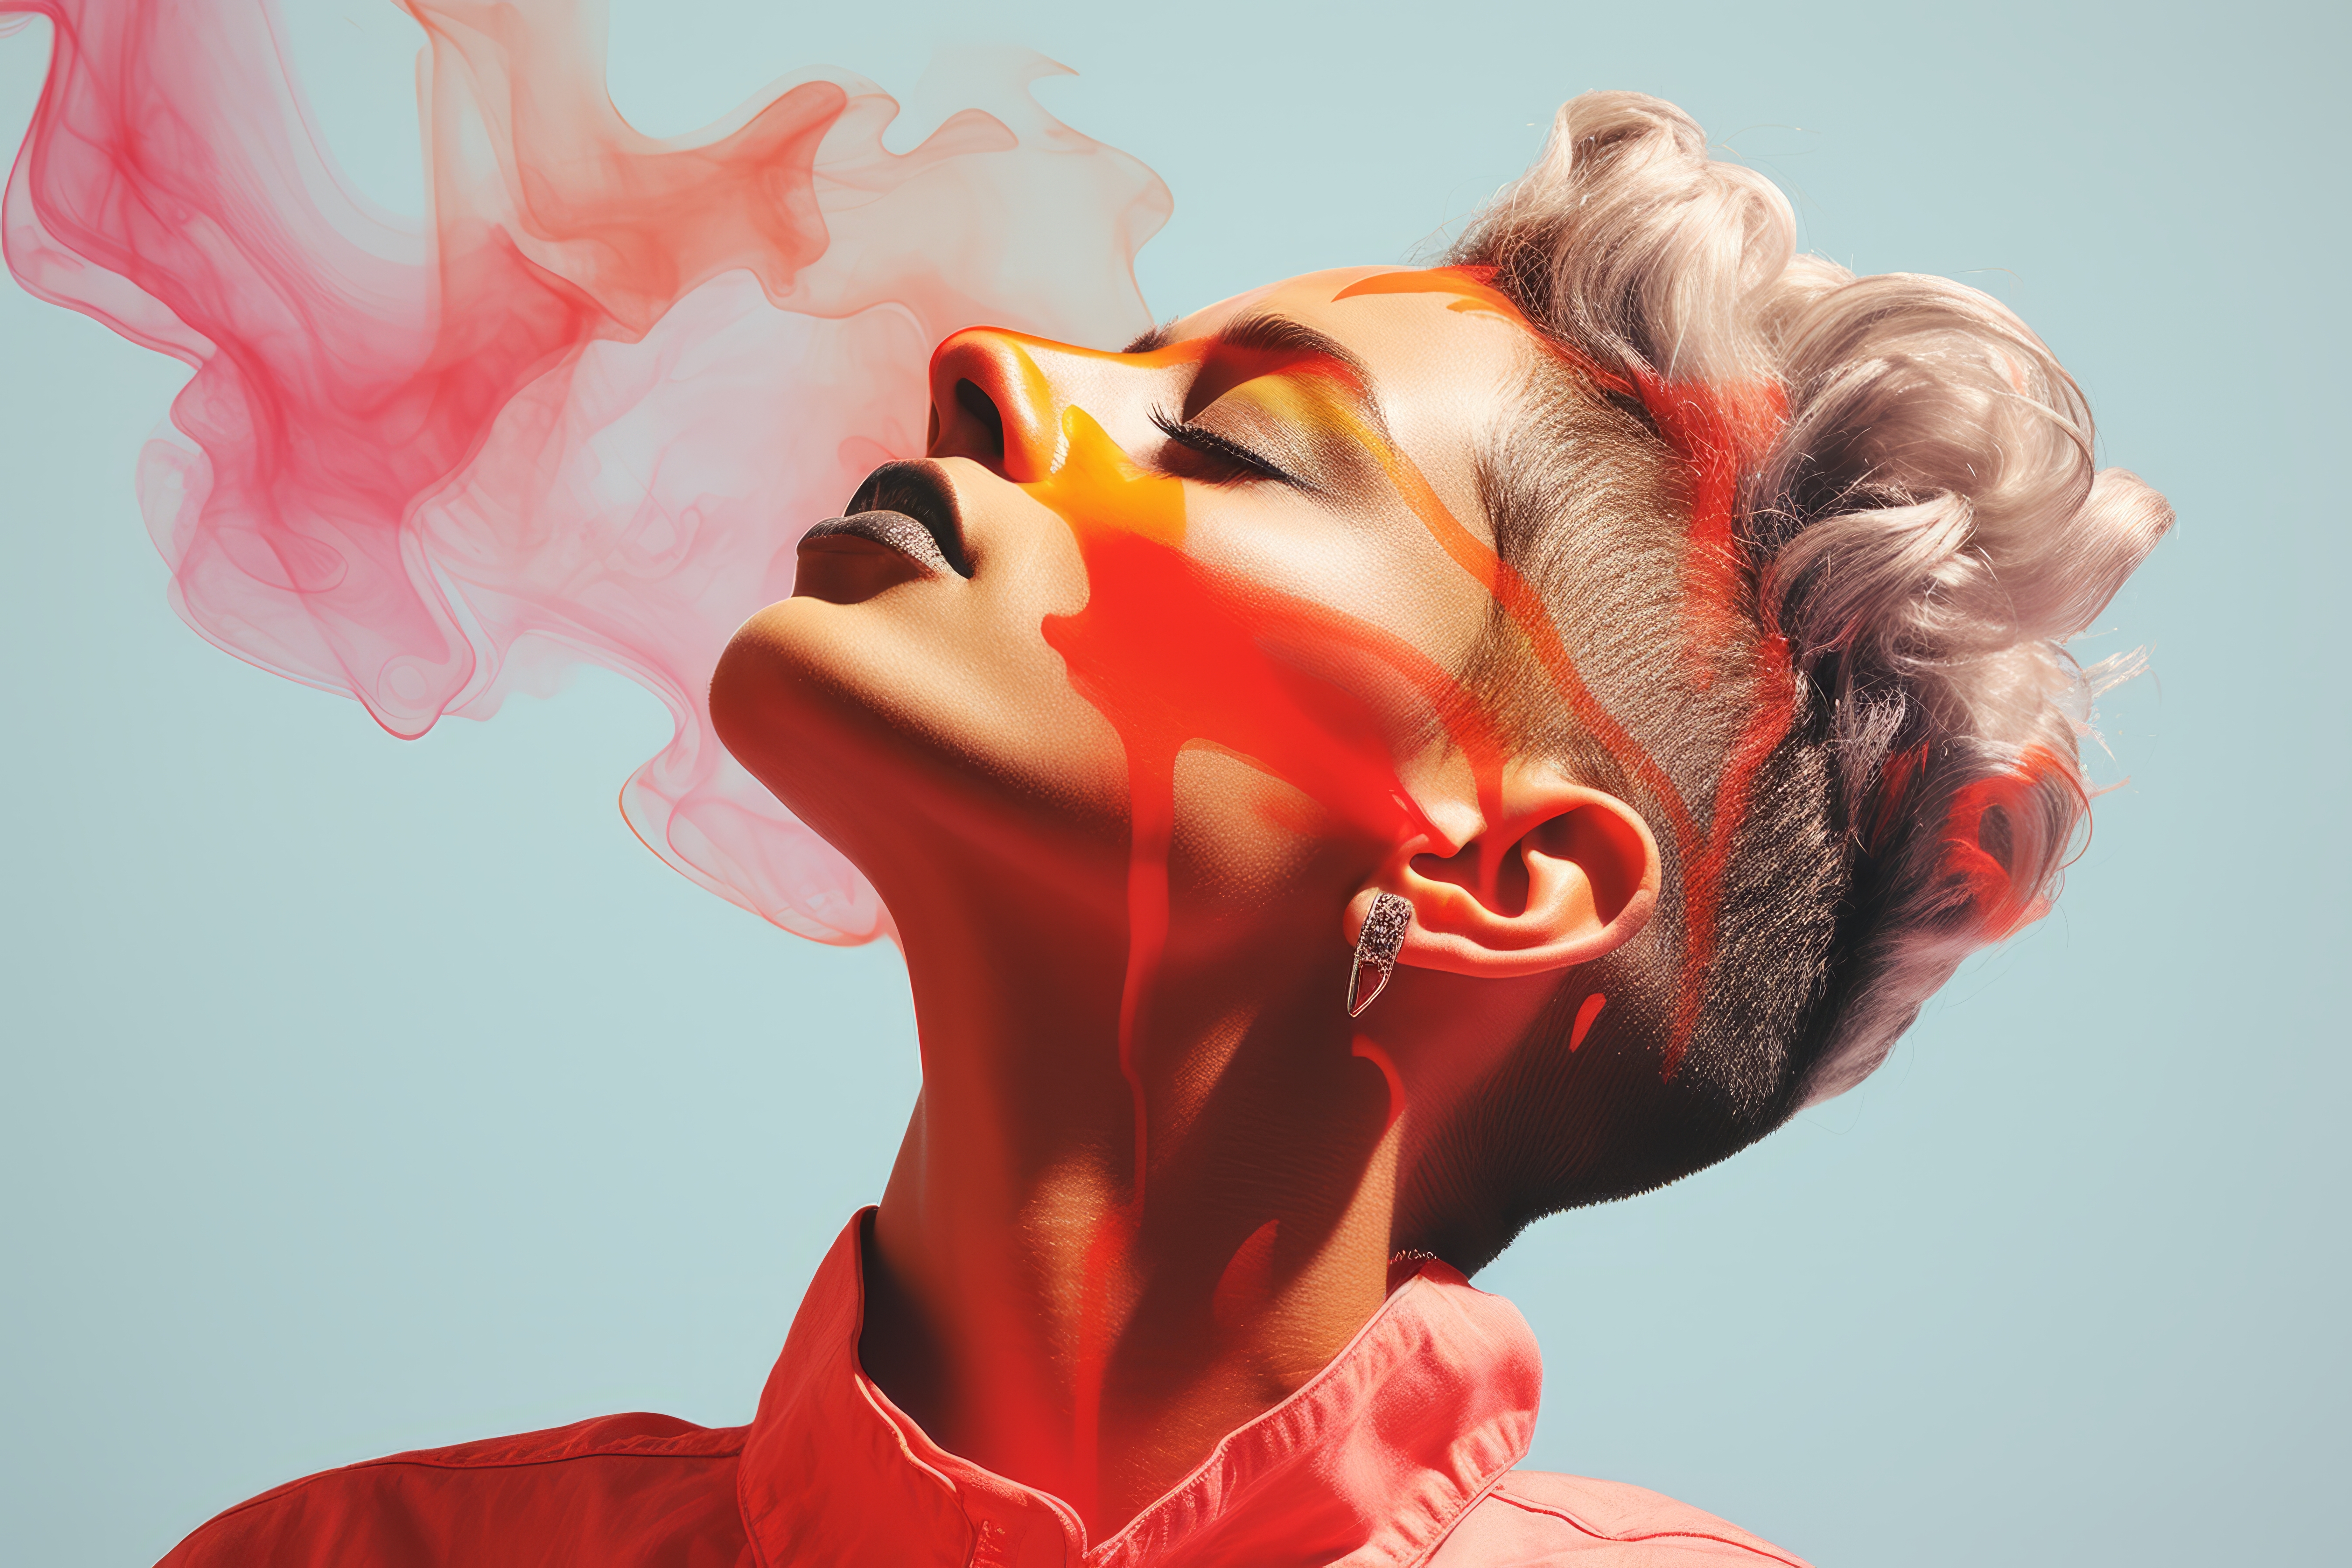
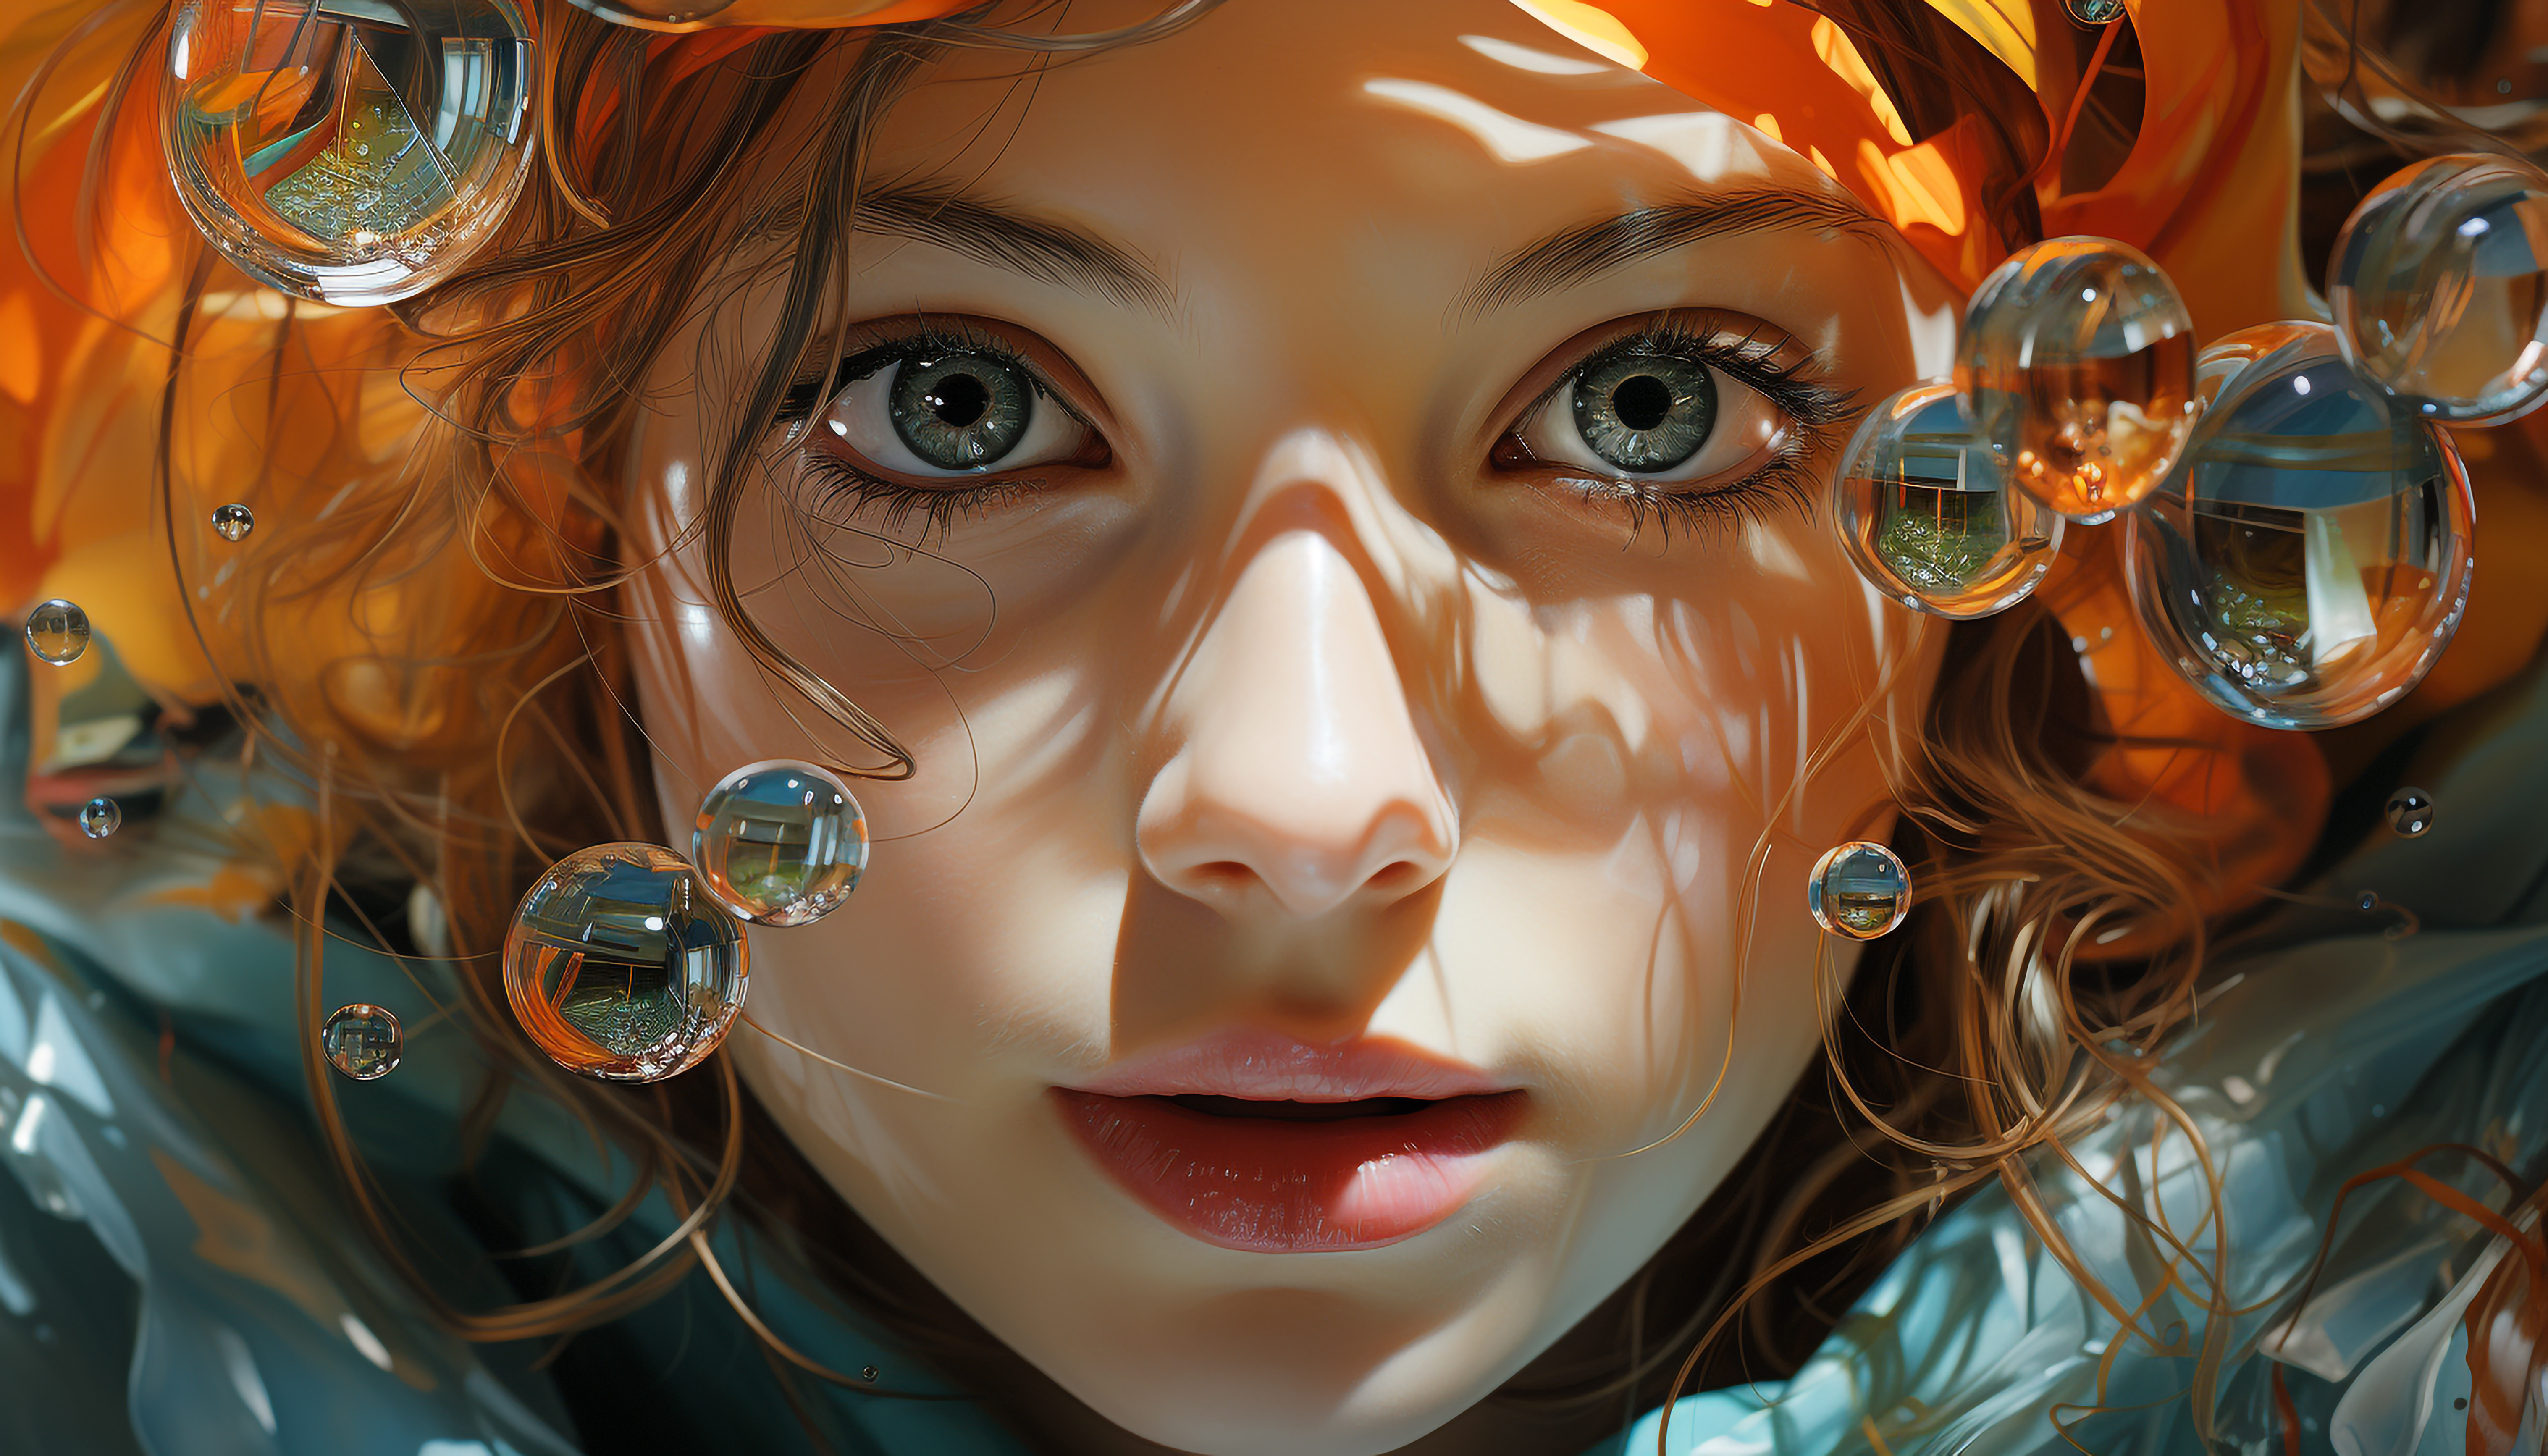


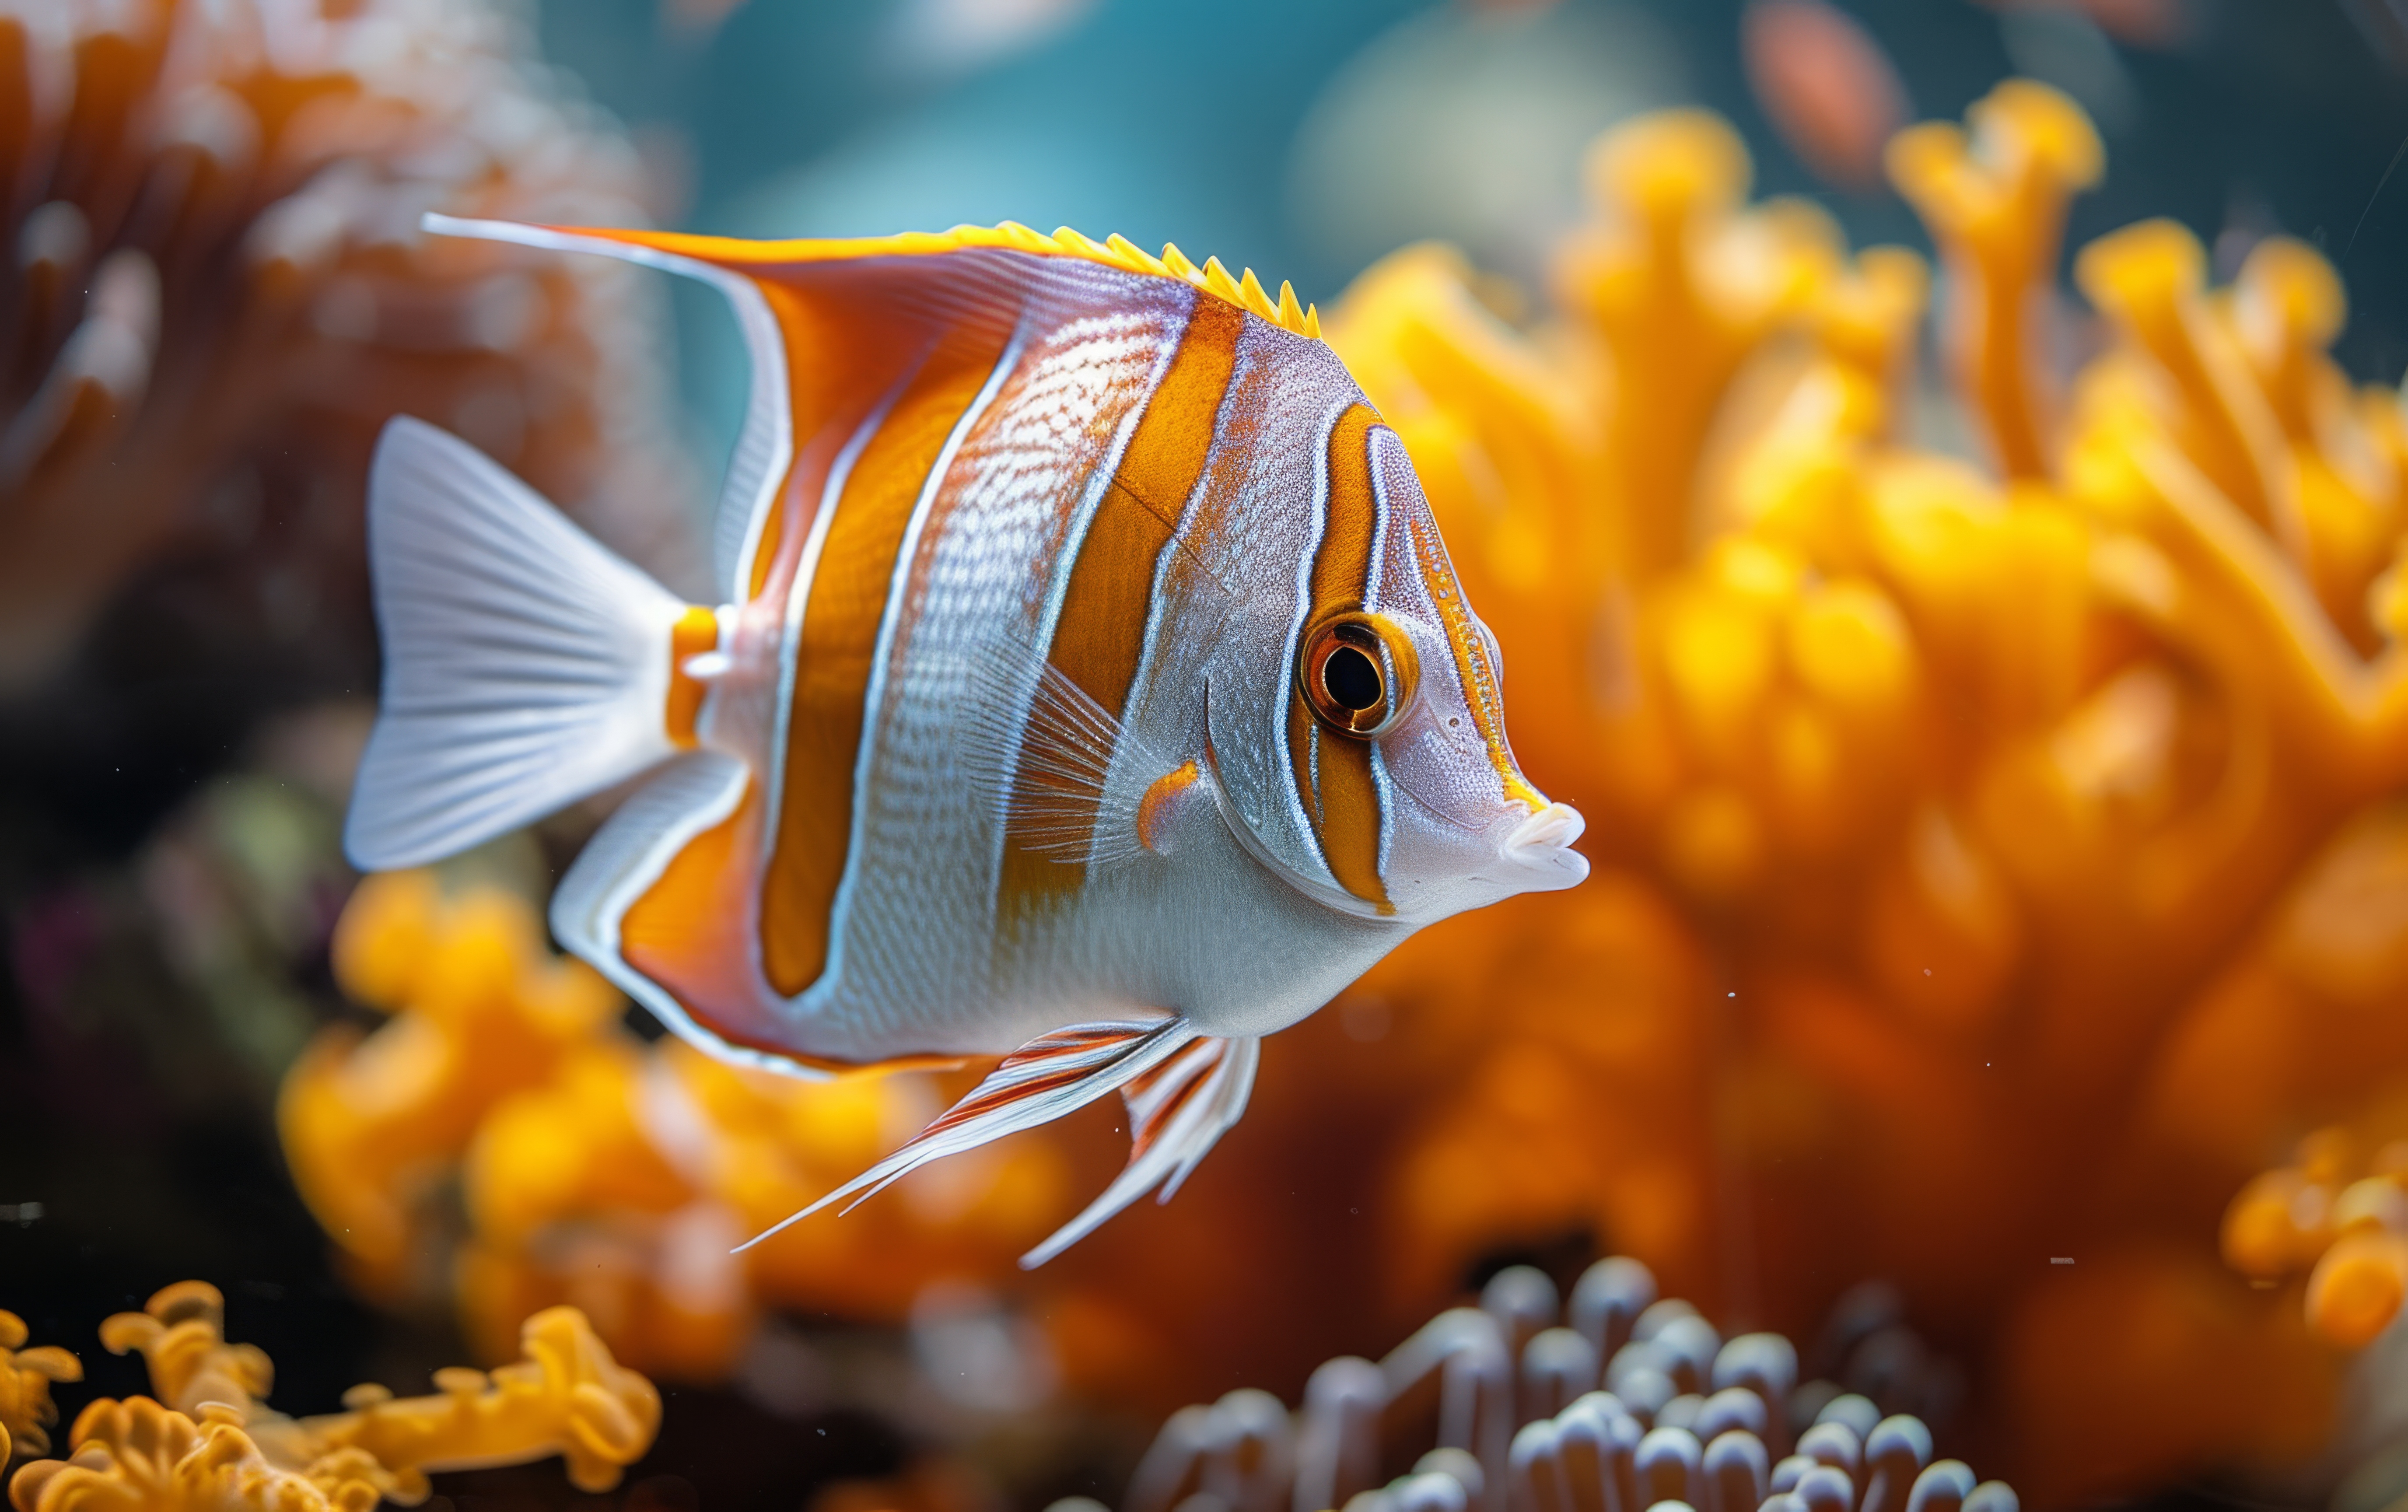
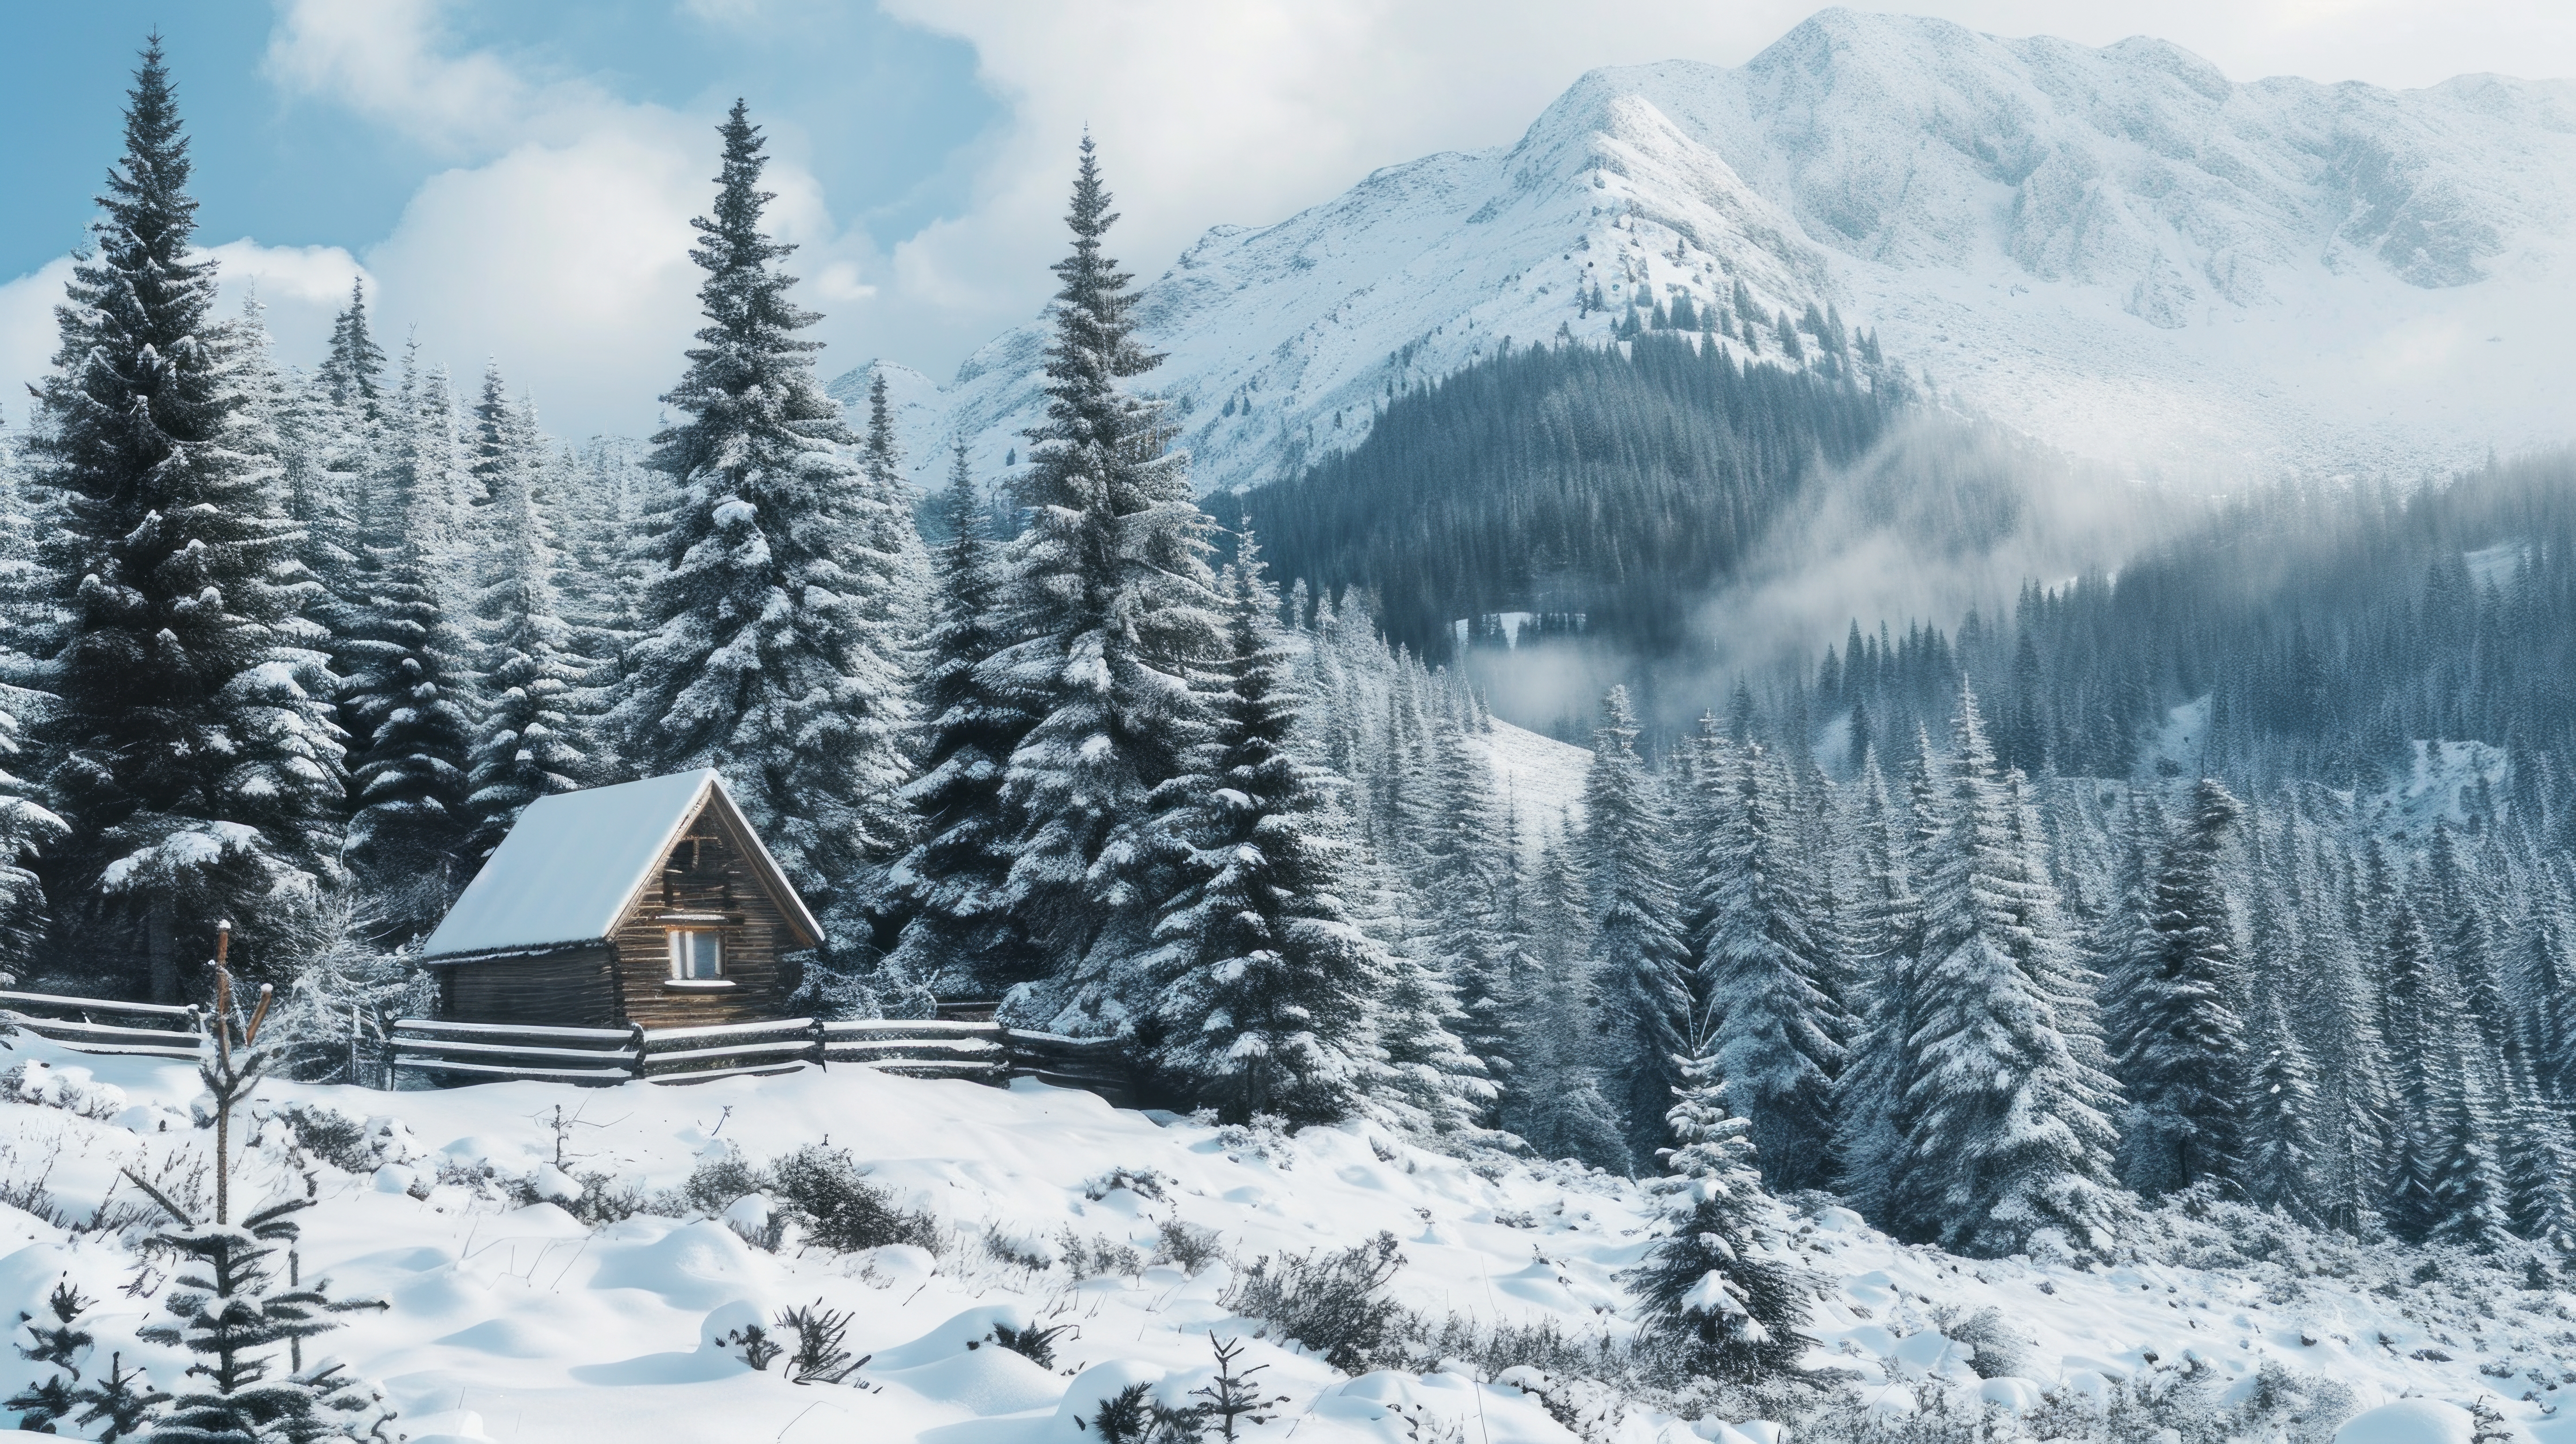
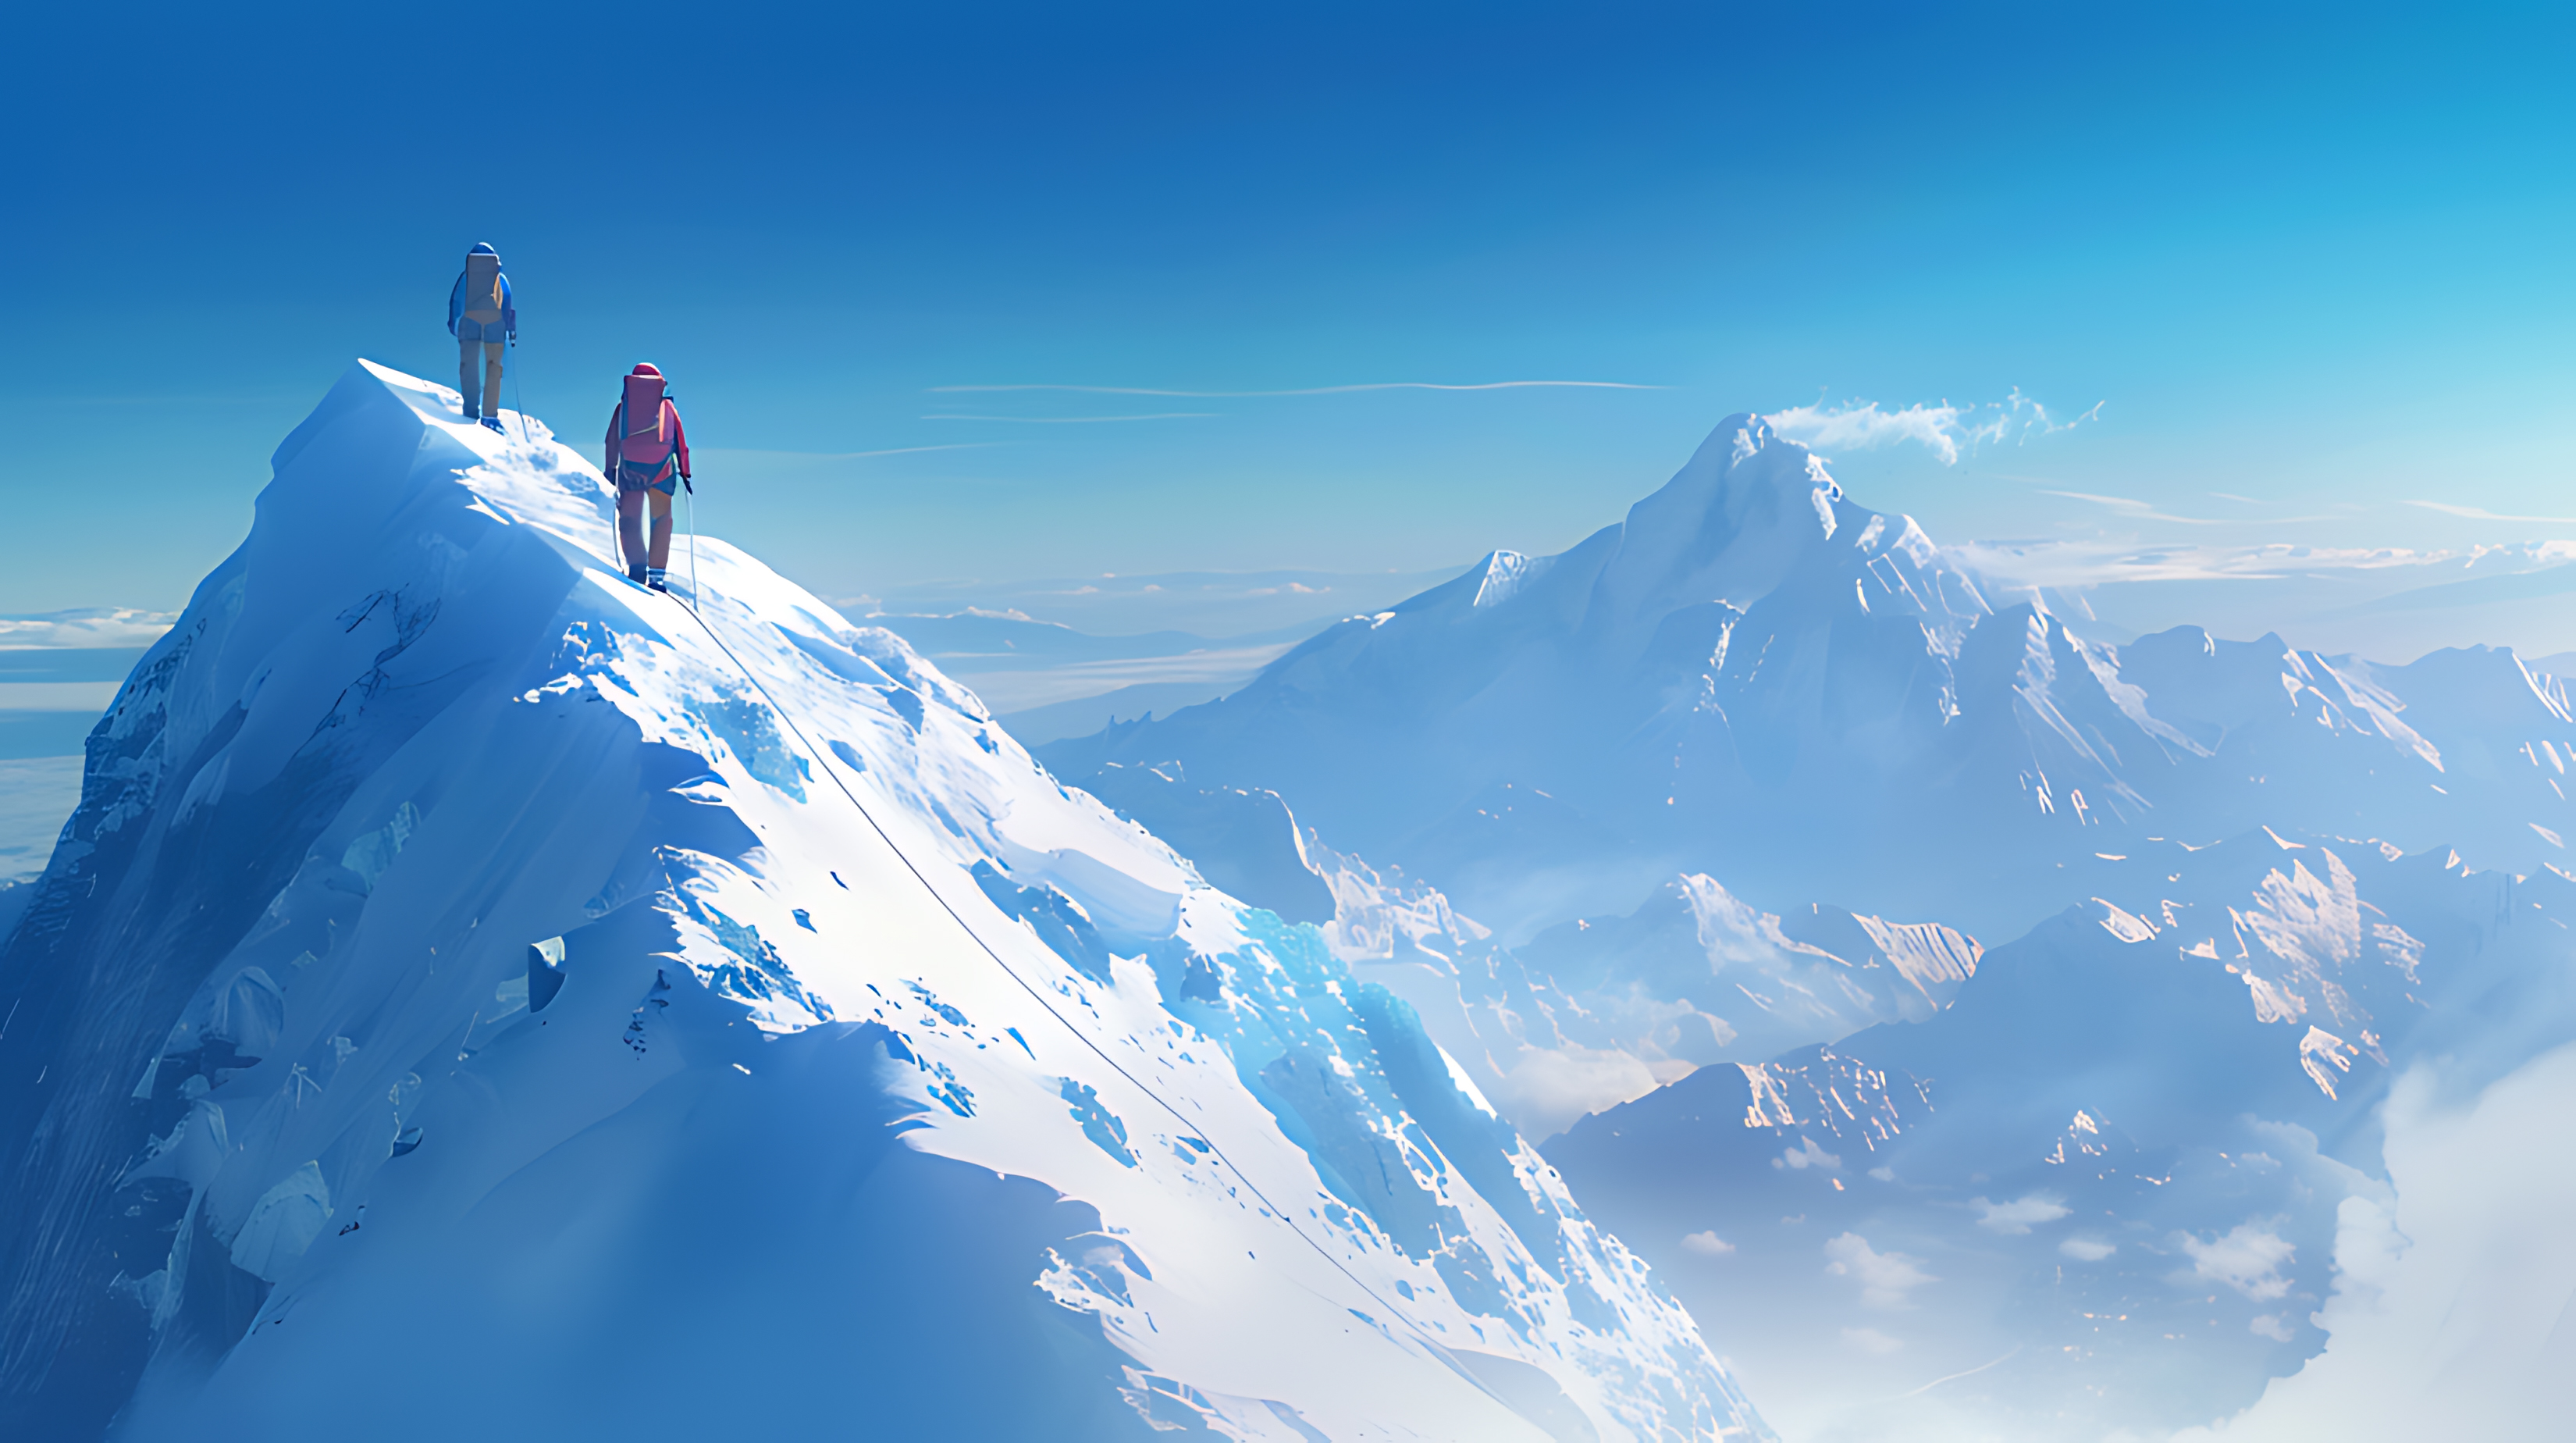
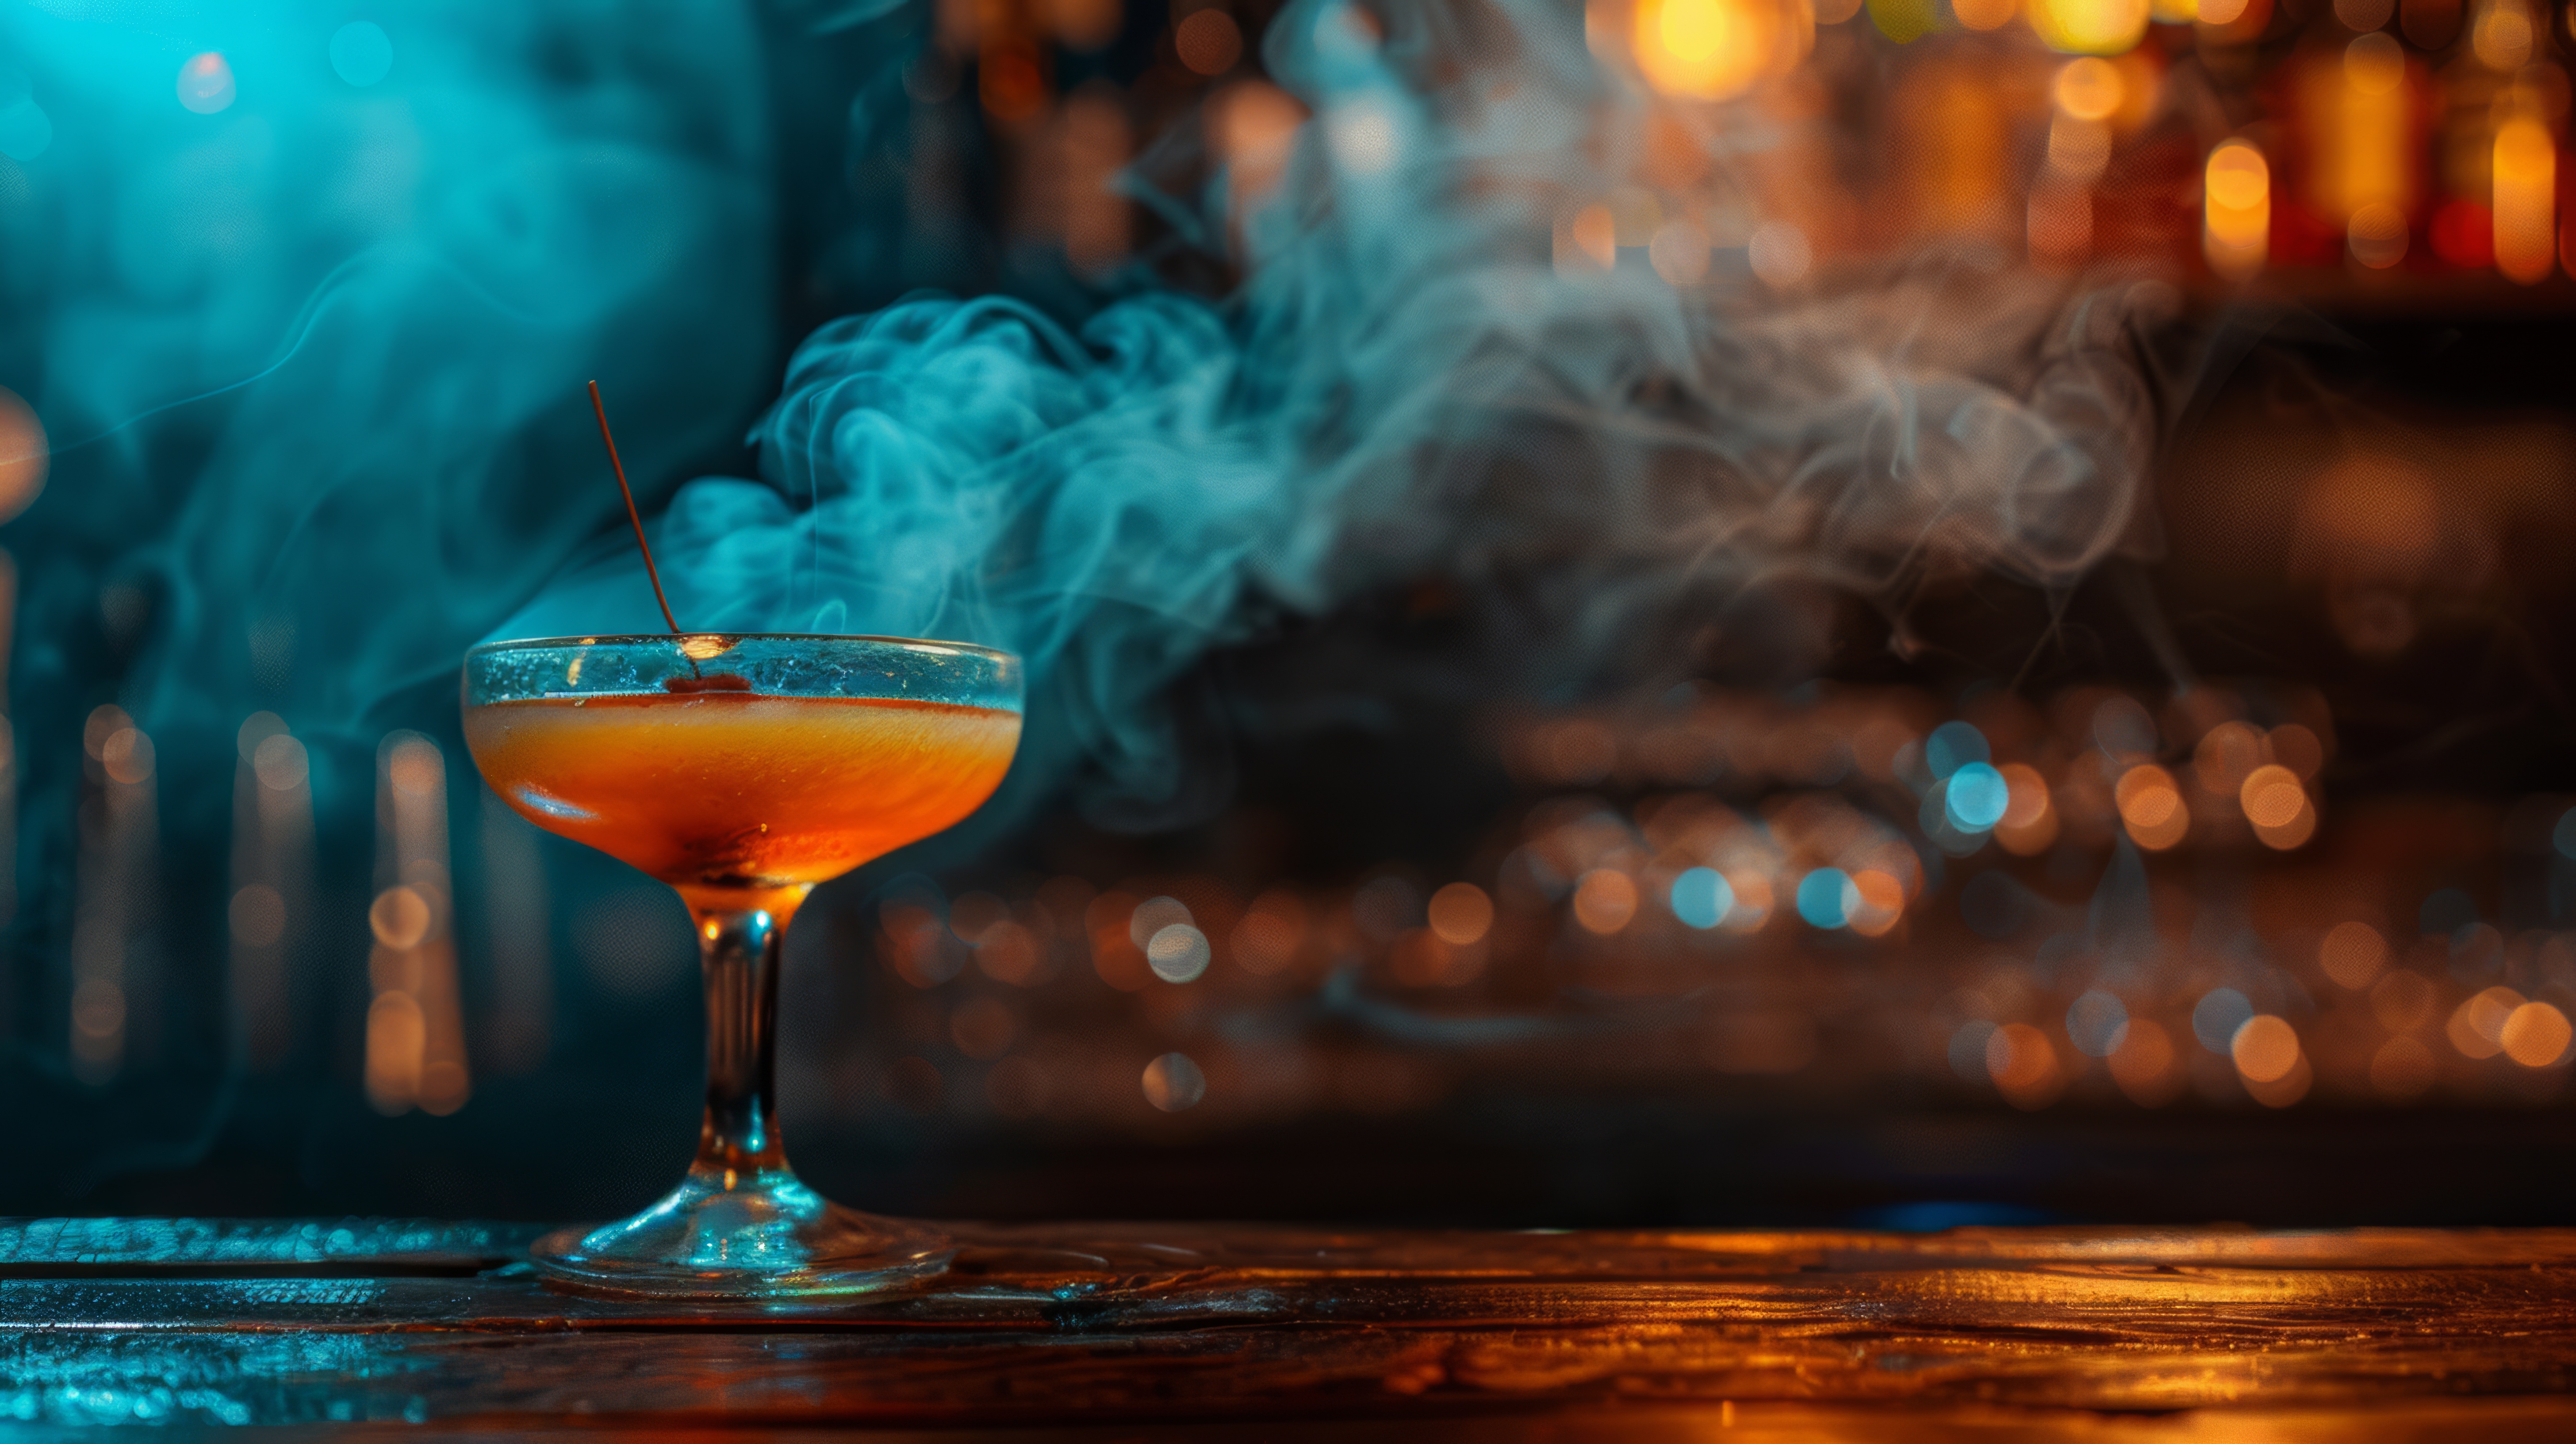
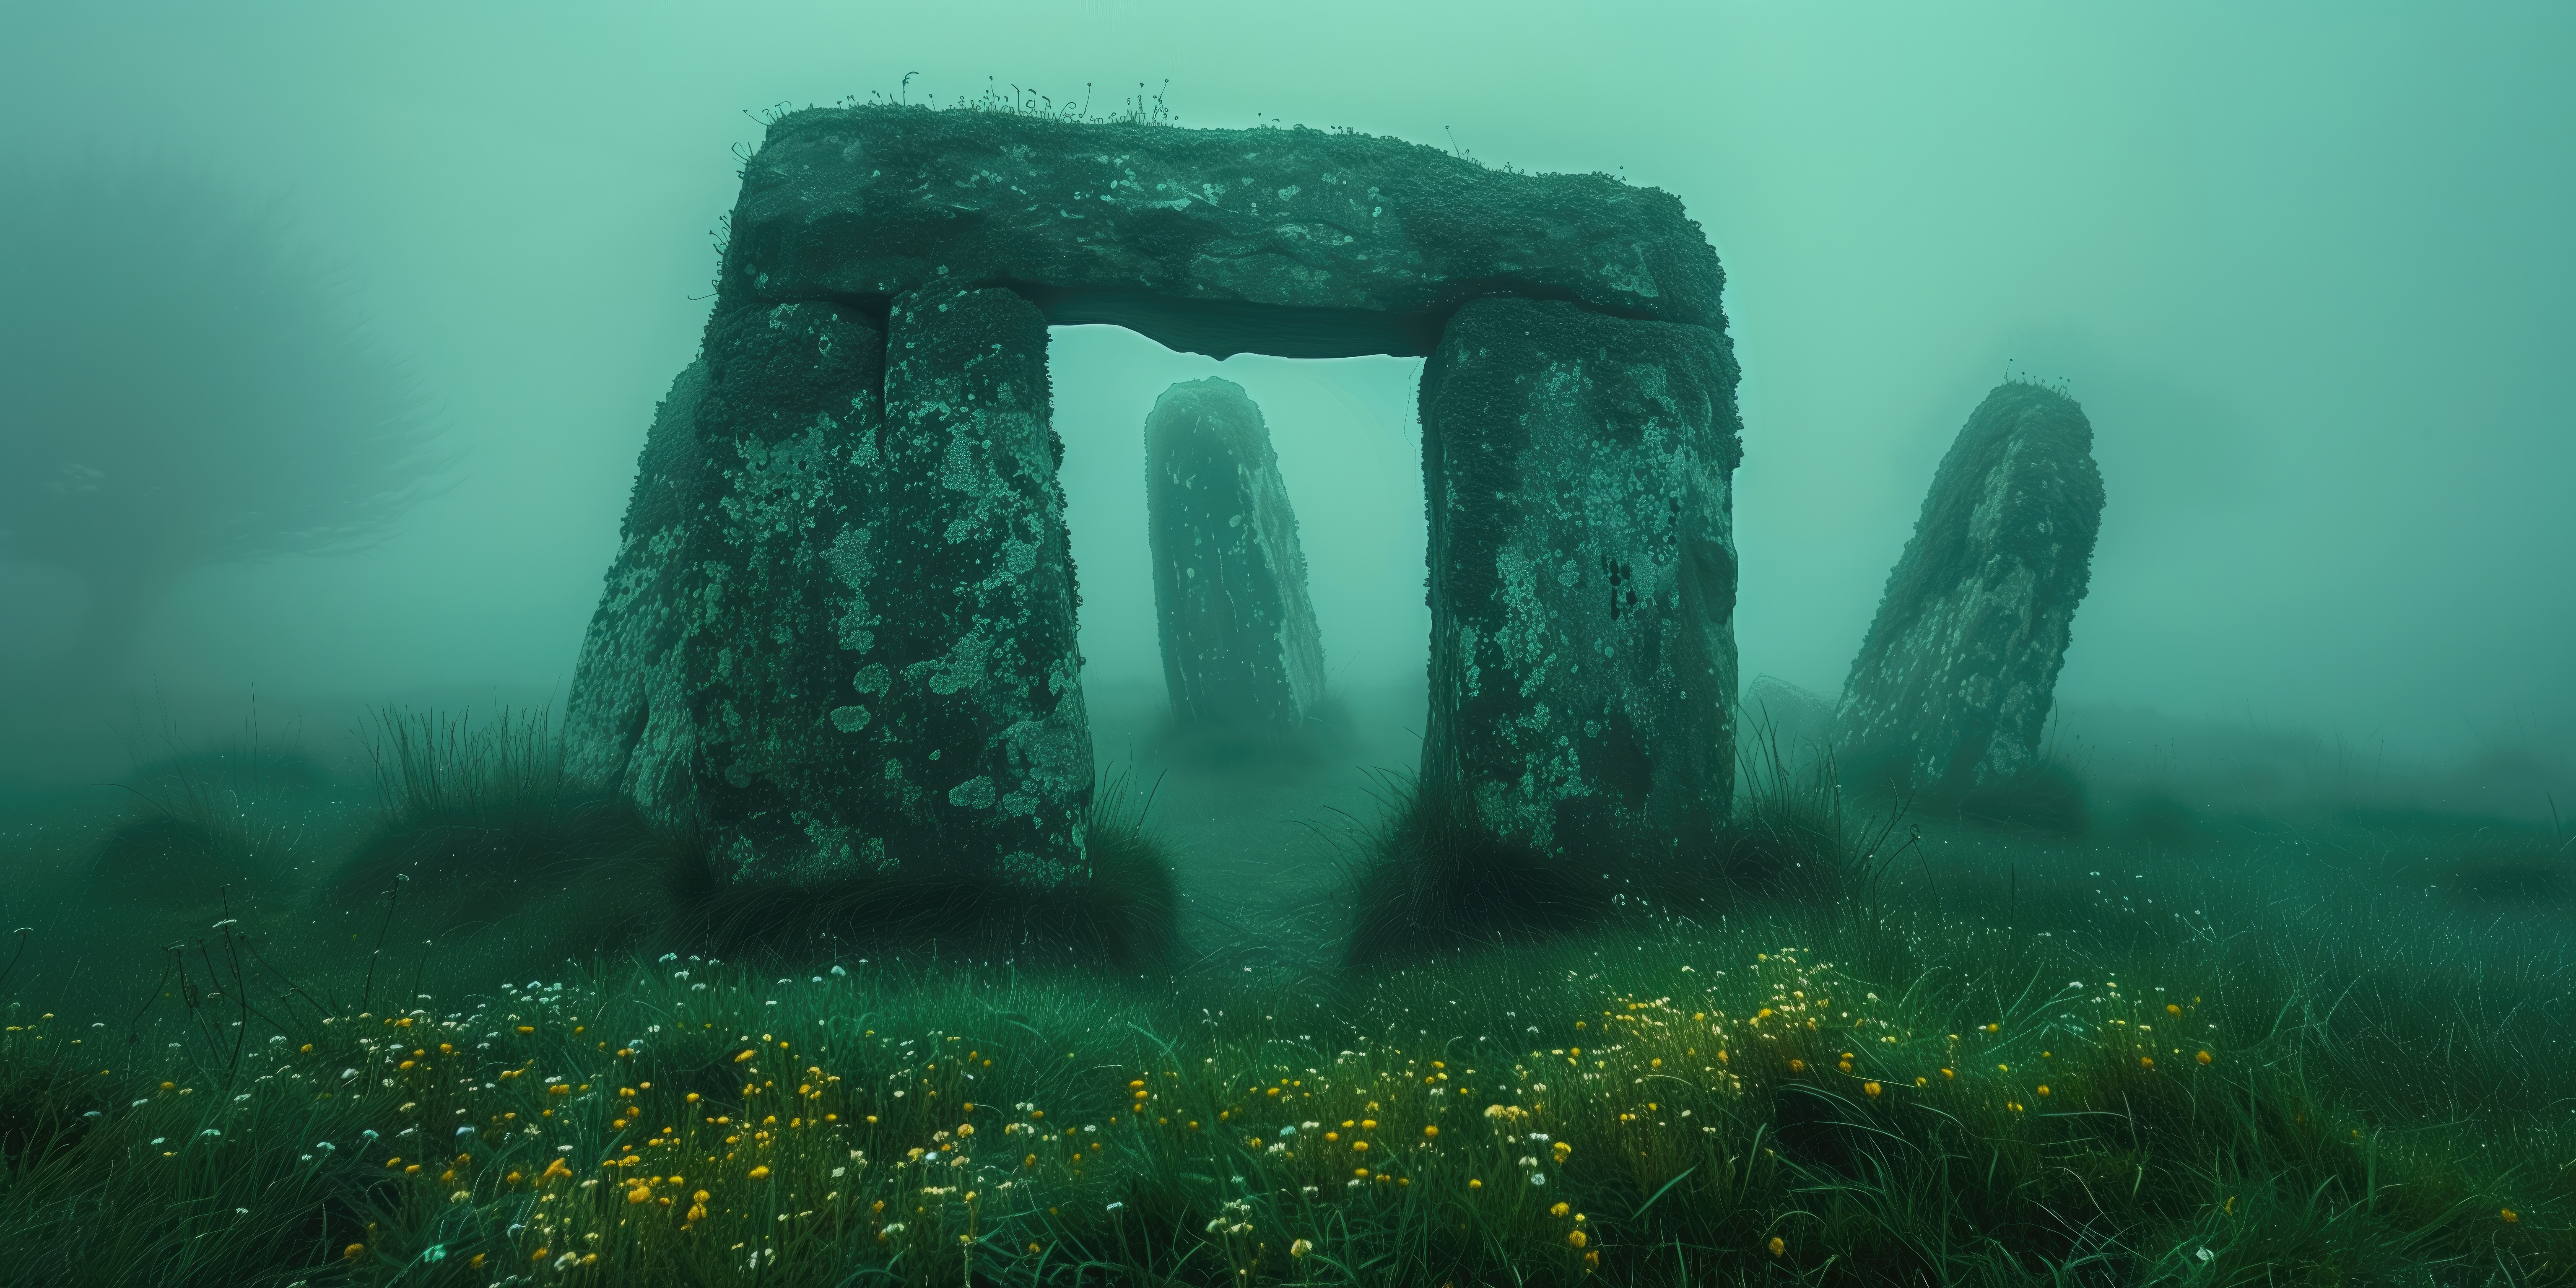
How to Use the Eterstock Text-to-Image (Txt2Img) Tool – Step-by-Step Guide
The Eterstock Text-to-Image (Txt2Img) tool allows users to create stunning AI-generated images from text descriptions. Whether you're generating concept art, social media content, or professional visuals, this guide will help you navigate the tool's features for optimal results.
Step 1: Accessing the Tool
- Log into your Eterstock account or create a new one if needed.
- Ensure you have enough credits or an active subscription to use the tool.
Step 2: Entering Your Prompt
Prompt (Required):
Describe the image you want to generate with as much detail as possible.
Example: "A futuristic city skyline at sunset with flying cars and
neon lights." Be specific about colors, styles, lighting, and objects to achieve better
results.
Negative Prompt (Optional):
Specify elements you want to exclude from the image.
Example: "No
blur, no text, no dark colors."This helps refine the output and avoid unwanted visual
elements.
Step 3: Selecting Image Settings
- Resolution: Choose the desired output resolution for your
image.
- Common options: 1024x1024 (ideal for social media posts).
- Higher resolutions provide more detail but take longer to process.
- Steps: Define the number of AI processing steps to improve
detail and quality.
- Lower values (20-30) generate faster but less detailed images.
- Higher values (50-100) provide more refined outputs.
- Images Count: Choose the number of images to generate at once.
- Guidance Scale: Determines how closely the AI follows your
prompt.
- Higher values (10-15) produce images more aligned with your description.
- Lower values (5-8) allow for more creative freedom.
- Seed: Control randomization of the generated image.
- -1 (random) creates a unique image each time.
- Use a fixed seed number to generate consistent results.
- Sampler: Select the sampling algorithm for AI processing.
- DPM++ 2S a Karras (recommended): Produces high-quality, smooth images.
- Experiment with different samplers for varied artistic effects.
- Clip Skip: Adjust AI model layers to influence style and
detail.
- Lower values retain more details, higher values simplify the output.
Step 4: Refining the Output
LoRA (Low-Rank Adaptation)
Fine-tune the AI output by applying pre-trained models to emulate specific styles.
Refiner
Adjust the refiner to enhance final output quality:
- 0 (Off): No additional refinement applied.
- 0.5 (Moderate): Subtly improves details.
- 1 (Full): Enhances sharpness and texture.
Tip: Experiment with different refiner settings to find the right balance.
Step 5: Generating the Image
Once all parameters are set, click “Generate” to start processing. The AI will create the requested image based on your provided settings. Processing time varies depending on the complexity and resolution chosen.
Step 6: Reviewing and Downloading the Image
- Review the results in the preview section.
- If satisfied, click “Download” to save the image (PNG, JPG).
- If adjustments are needed, modify the prompt or parameters and re-generate.
Tips for Best Results
- Use descriptive prompts: Include colors, lighting, and stylistic elements.
- Experiment with guidance scale: Adjust this for balance between accuracy and creativity.
- Avoid overloading the prompt: Keep descriptions concise but detailed.
- Utilize LoRA models: Maintain a consistent style for branding or personal projects.
Applications of AI-Generated Images
- Marketing and Social Media: Create visuals for Instagram, TikTok, ads.
- Concept Art: Generate ideas for design, gaming, or film.
- E-Commerce: Visualize product concepts with high-quality renders.
- Personal Projects: Enhance presentations, blog posts, and more.
